Showing posts with label DIY. Show all posts

Quick Fix

Posted By: Kristi


Am I the only one who gets tired of their kitchen towels slipping off of the oven handle onto the floor? I am a laid back person but I admit, this drives me CRAZY. I came up with a quick fix and so far, it is working beautifully!

I chose a few of my favorite kitchen towels and only upgraded them for now. I wanted to make sure this was a fix I was going to like before going DIY nutty.

1. You will need a kitchen towel and velcro. I purchased the velcro (Fabric Fusion) below. I found it at Michaels, unfortunately I can't remember how much I paid for it.


2. You will iron on the velcro on opposite sides of the towel so that when you are done, you can velcro it together and it will be tubular.


3. That's it! Place it on your oven and enjoy the fact that it will be where you left it!


How to Make Liquid Hand Soap

Posted By:  Stephanie

Good morning!  Today I'm going to show you a quick tutorial on how to make liquid hand soap.  Seriously, it is so easy and such a money saver that we should all do this.


Gather all your supplies:

1 gallon distilled water
1 8oz bar of soap
*after trial and error on my husband's part making body wash we found Dove does not work well*
Glycerin
 *usually found near the band aids*
1 TBSP measuring spoon
Cheese grater


Step 1:  Grate the bar of soap and add the soap and 2 TBSP Glycerin to a pot of 1 gallon distilled water.

We (my husband and I) used a 5.5oz bar of soap and found that if we used a bit less water or an 8oz bar of soap it would have worked a little better.  We were still happy with the results so the soap wont go to waste.


Step 2:  Turn the heat to medium/high heat and continue to heat until the soap shavings dissolve.


As it is dissolving stir it up, this process doesn't take long.


This is what it will look like once you're finished dissolving the soap.


Step 3:  Wait about 24 hours for the soap to settle and become less runny.  Get out your handy mixer and mix it...mix it real good. (said in the tune of Push It by Salt and Peppa)


Step 4:  Use a funnel and pour your soap into the gallon container the water came in for storage.


That's it, you're done!

Of course everything turns out better when you have a messy cute assistant helping out.


Now get to it!  

Seriously this is SO easy and will save you tons of money over time.  Like I said though, don't use Dove bar soap for this, it was a runny mess!  I personally prefer the natural soaps for 2 reasons:

1.  The cost savings is even greater
2.  When we did try the dove the smell wasn't pleasant it was all chemical, no thank you.


DIY Fringe Scarf

Posted By: Kristi


What a great weekend! Bummer that it had to an end but it was great while it lasted. Yesterday evening, my sister Samantha and I whipped up a fringe scarf. It was a quick project and can be a fun addition to your outfit. Here's how we did it....


1. Find a shirt you no longer want and cut across it, armpit to armpit.


2. Cut evenish strips up the shirt, starting from the bottom, about 6 or seven inches long. Keep cutting all the way from one side of the shirt to the other side.


3. Once you are done cutting the strips, hold the shirt still with one hand and pull each fringed piece with the other hand. You want to really stretch each piece out.


4. That's it, you're done! Put on your new scarf and admire your new look. = )


Samantha is a lovely model, next time I will get her cute face in some pictures! Hope you all enjoyed your weekend and that Monday isn't too hard on you!!


Mirror mirror on the wall....

Posted By: Kristi

I know you have all probably seen this many times, the paint an ugly mirror and make it all pretty trick. Well, it is not so much a trick, but you get what I'm sayin, right?

I started out with this hideous mirror (sorry, I accidentally deleted the picture that had the mirror in it still). YUCK! It was the queen of ugly but for only $2, I knew I could transform it.


I unscrewed the mirror, removed it and cleaned up the frame.


I bought spray paint at the craft store when it was on sale and slowly sprayed the mirror. When spraying something, remember the key is even brush strokes and to let it dry in between coverages. It will take a while but the finished results will be so much better than if you rush it.


Notice the mirror barely shows any coverage? This is because I did very light, even coats.


Here are after shots:


It look about 6 coats for the finished product. I am not sure if I am really loving the color but it is better than it was. What color do you think would be better? Do you have any spraying tips to share?


Birthday Banner

Posted By: Kristi

I have another Silhouette project to share! Lou's Birthday banner is almost done, and of course shaped as fishes since this is a water party! = )


Wedding - Hangover Kits

Posted By: Kristi

Because we had a destination wedding, we thought it would be nice to put together welcome bags for each cabin (we went on a week long cruise). Included in each welcome bag was a hangover kit.


In my opinion, welcome bags aren't too expensive and really add a special touch. I will find more pictures to show you what we included in each bag, but for now, here are details about the hangover kits.

I put everything into small cellophane bags and cut out the emergency cross from my Silhouette. As you can tell from my current posts, my Silhouette machine has been getting a ton of use lately.  Next, I searched online and went to the Dollar tree to find things to add to the bags. Here is what we included:


Cough Drops - Dollar Tree
Alka Seltzer - Amazon
Ear Plugs - Amazon
Moist Wipes - Dollar Tree
Advil - Advil
Band Aids - Dollar Tree
Electro Mix - Amazon

They really came in handy, even for other reasons, non-hangover related.

I think I am almost done talking about the wedding. Maybe just a few more wedding related posts.; )


Elmo Invites

Posted By: Kristi


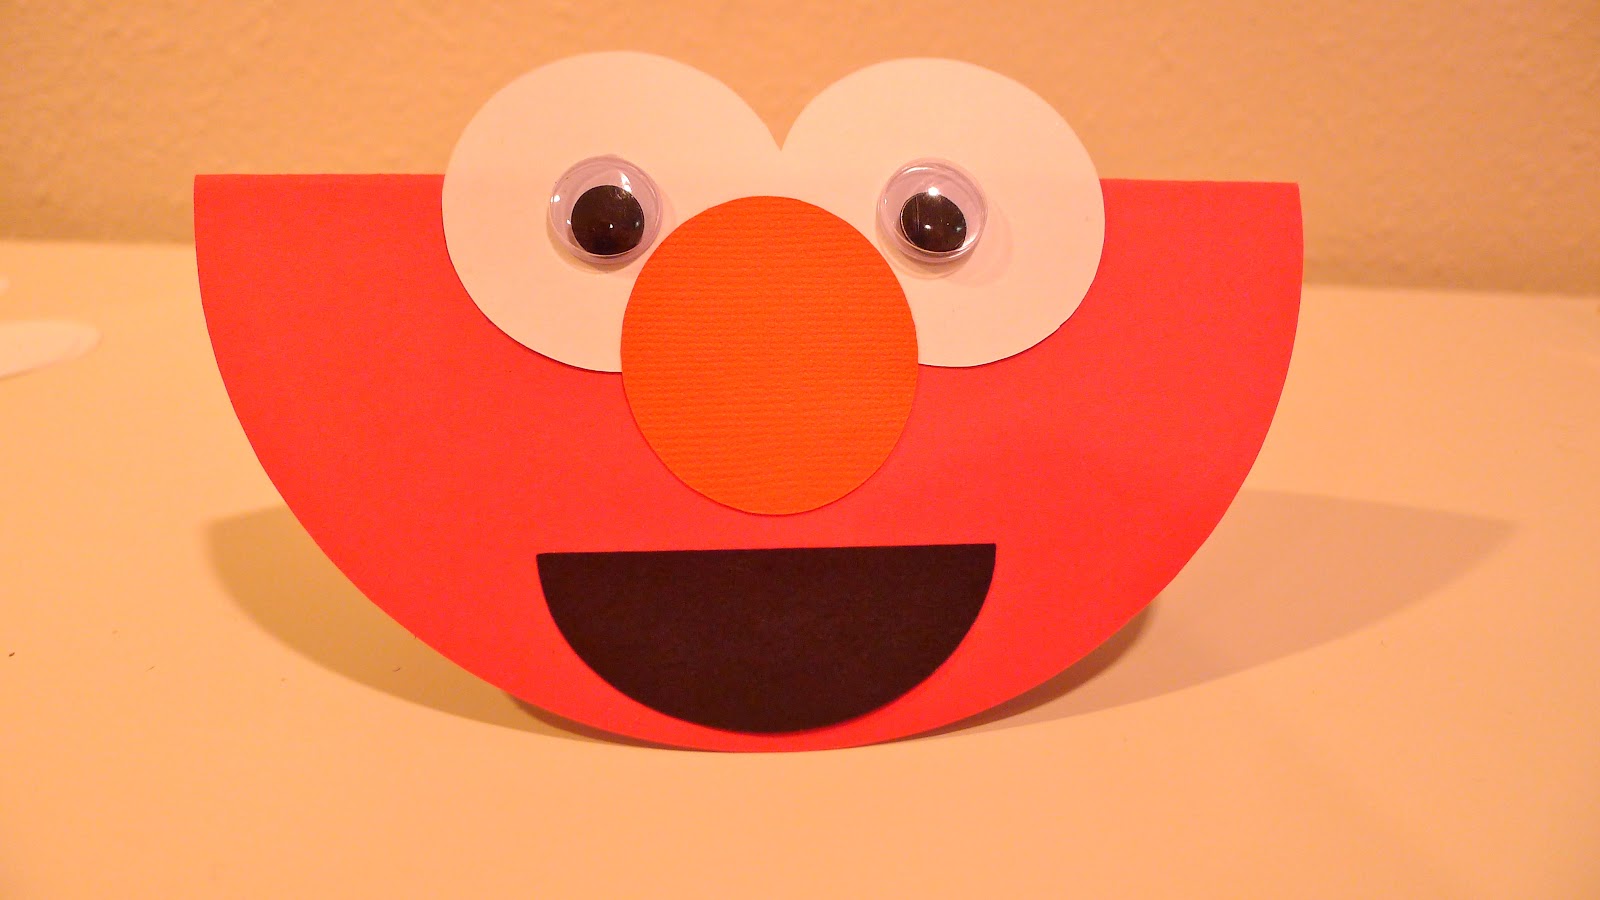
I told you I would give you step by step details of how I made the Elmo/Water party invites, so here I go...

It started with my inspiration, I found it here.


Lou loves water so early on Steph and I decided her Birthday needed to be a water theme, naturally. Well, recently Elmo came into Lou's life and she decided she needed to have an Elmo party. UH-OH. Problem was quickly solved when we decided to have a water party with a little Elmo on the side. ; )

When I found this Elmo invite online I realized I could change it up a bit to really work the way we had pictured. That is when I came up with this:


I took out my Silhouette and started cutting out my shapes and slowly piecing the invite together.


The only thing that really took very long was making a lot of them. The invitation itself was easy to piece together!

More party stuff to share soon!


Related Posts Plugin for WordPress, Blogger...