Showing posts with label Tutorial. Show all posts

Tutorial: Kids Play Makeup

Posted By:  Stephanie


Lately my little girl who's 2 loves to play with makeup.  It doesn't matter to her if it is real or fake, to her it is all VERY real = )

I decided that I would get a head start on Christmas gifts and make her a set of eye shadows and blush to go in a "makeup" kit for her.


I got these from the Dollar Store, that way I wasn't wasting good makeup.  I don't wear enough myself to have a lot of spare containers laying around, if you do use those.


Pick some nail polish colors you feel would work well for your "makeup".


I found using a toothpick and running it around the outer edge of the makeup made it either pop right out or break up really well so it came out pretty clean.


I then used a q-tip to clean out the corners to make them really look nice and real makeup free.


Next add the nail polish.  I did just enough so that the bottom was covered and you don't see metal, then paint the outer brim of the metal to give it the effect that it is completely full.


There you have it, mess free makeup for your little one or as a gift for a little girl you know would love it.  All you have to do is wait for it to dry.  Warning, this is a bit of a stinky process!


Mirror mirror on the wall....

Posted By: Kristi

I know you have all probably seen this many times, the paint an ugly mirror and make it all pretty trick. Well, it is not so much a trick, but you get what I'm sayin, right?

I started out with this hideous mirror (sorry, I accidentally deleted the picture that had the mirror in it still). YUCK! It was the queen of ugly but for only $2, I knew I could transform it.


I unscrewed the mirror, removed it and cleaned up the frame.


I bought spray paint at the craft store when it was on sale and slowly sprayed the mirror. When spraying something, remember the key is even brush strokes and to let it dry in between coverages. It will take a while but the finished results will be so much better than if you rush it.


Notice the mirror barely shows any coverage? This is because I did very light, even coats.


Here are after shots:


It look about 6 coats for the finished product. I am not sure if I am really loving the color but it is better than it was. What color do you think would be better? Do you have any spraying tips to share?


Hand and Foot Print Wall Art

Posted By:  Stephanie


WARNING:  Throughout this post you will see that she looks miserable.  For the record she made lots of funny faces but never cried. = )

As you may remember we are going to be working on Lou's big girl room and I have slowly been accumulating a few things for the room once it's done.  On this random night I decided it was craft time and we needed to make a little something for her room.

She's ready!

We picked two colors that will match the bedding in her room.
Purple for her hands and pink for her feet.

She liked seeing her hand prints on the canvas.

See, looks like she is crying but I assure you, she was not.
I was having fun with this as you can tell haha!

The finished product.  

We used a very thin canvas that we will either just hang on the wall or frame.  I haven't decided yet.  I'll make sure you see it when it's in the room.  Lou's favorite part of this project was washing her feet in the sink.  My favorite part is having something that she will be able to keep for years and eventually show her kids some day.

Pine Cone Door Hang Decoration

Posted By:  Stephanie

Two Thursdays ago Lou and I went over to visit and have a craft day with my friend Breanna from Dollar Store Mom.  Our day was cut a little short when Little Lou was very tired and made it clear that I needed to focus on her need for a nap, not my crafts.  Before we left I did manage to get small a craft underway.

I had seen a similar idea in a magazine with pine cones hanging from the back of chairs in a dining room.  I really liked the idea but I knew that anything hanging from the back of chairs in our house wouldn't last but two minutes - if I was lucky.


I gathered 5 pine cones that I had from previous years.  They are the ones that you can get in the stores that have the yummy smell on them.  These don't smell anymore but I still had them, knowing I would find a project for them some day.


Using my glue gun I put some glue on white ribbon I found for $1 in the craft section at Wal-Mart.  I'm lucky to have one of the only clean nice Wal-Marts that exist.


Then I pressed the ribbon onto the pine cone and set it out to completely dry doing this will all 5 pine cones.  This is were I left off and had to go home for nap time.


Once I was able to pick back up on the little project I held up the pine cones on the ribbons and adjusted them how I wanted them to hang.  I glued each layer of ribbon to keep them in place.


With the same ribbon I made a bow and glued it on top where it would cover the glue that was soaking through from where I glued all the pieces together.  I trimmed the longer pieces on top so that you can't see above the bow.


Last step was to make a loop to hang the pine cone door hang from.  I made a loop and glued it on the back. As you can see the back isn't all that attractive, that's why it's the back, right?


I love how it turned out.  I really like the white and that it is a subtle decoration, we have a lot of the traditional red and green inside, the white is kind of nice.


What do you hang on your door?


CD's Made Candle Holder

Posted By: Kristi

Hello! I hope you all had a very nice weekend and a fabulous Thanksgiving! Thanksgiving with our family was very nice, as always. We stayed up with all the other crazy people out there and shopped on Black Friday. It is a tradition that Steph and I have been doing since I can remember. I have to admit, I didn't like that some of the stores opened at midnight. I prefer the excitement of waking up early and beating the crowds! It was still fun, just not the same.

Last week we had some not so good stuff happen to our home. It was raining so hard that some of the rain found its way through our basement window seals and drenched the carpets. They were SOAKED! We called Stanley Steamer and they quickly came to our rescue. They had to remove the rug pad and extract all of the water. They put holes in the bottom of the wall to make sure that all of the water was gone. It has been a mess around here to say the least. Insurance doesn't cover this kind of damage so as of now we have spent $1,800! BOO! We still have to buy a new carpet pad and get the carpet put back down. The biggest bummer is that the carpet is only a year old. Oh-well, it will all be ok. = )

Here is a fun and easy project for you to try, it only takes 10 minutes!

You will need a mug and two CD's


Preheat your oven to 375. Place the CD's on top of each other (shiny sides out) and place them on top of an oven safe mug.


Carefully place the mug with the CD's on top in the oven for 10 minutes.


Once 10 minutes has passed, remove the mug from the oven and let it cool.


Once cooled add a candle.


I LOVE that it has a mercury glass feel to it!

Note: I think it could be especially cool if you used a mug with a smaller circumference and then left it in the oven just a little longer. If you try this, please send us a picture. = )

Have a great week everyone!


How to Make a Tutu - Tutorial

Posted By:  Stephanie

See this super cute girl?  She belongs to my friend Breanna at Dollar Store Mom.  If you haven't been to her site yet you're missing out.  She has all kinds of tips and tricks on how to be the best mom, on a budget.


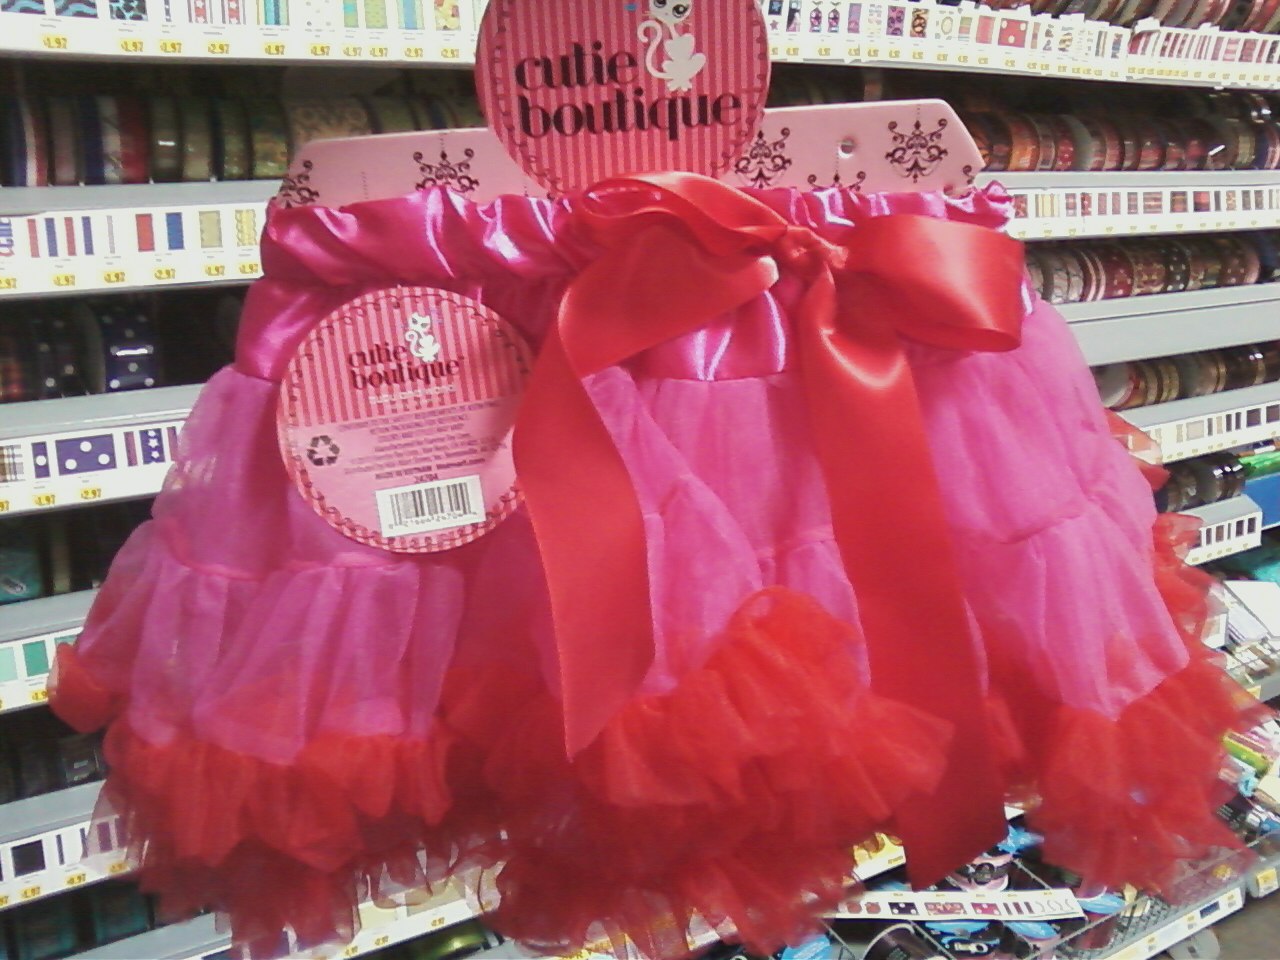
When we were invited to her birthday party at the end of September I knew I wanted to find something girly for her, something she could dress up in.  When we went through the girly isles of the store I found this skirt which was $20.  Being that we are on a budget and I also didn't feel that the skirt was as cute as it could be for that money I ventured onto the craft isle to get supplies to make my own.  A friend of ours had gifted a tutu to Little Lou at my baby shower so I went off that one for direction on how to make a tutu for the birthday girl.


I picked out two colors of tulle that I thought would look good together and ribbon to match the lighter color. You can make a tutu with one color or multiple, it's up to you.


I cut two pieces at the same time on top of each other to the size I wanted and then used those as a guide for the rest.  When determining the length you are cutting remember that the length is going to be half of what you cut, it stretches some and think about how tall the person is you're making it for.  When making this one I cut 24 inch pieces knowing that it would be a bit long, I wanted it to fit her longer than a couple months.


To make this process a bit easier I pinned the ribbon on the shelf brackets.  Most people don't have their craft room in a closet but you can find something else to pin it to if you feel the need.  Personally I feel this made the process so much easier.


See below for instructions on how to put the tulle on the ribbon.  I have learned after making this one that you can also use elastic instead of ribbon if you choose.


Once complete you have a cute tutu for an even cuter child.


With Christmas coming up this would be a great gift for the little girls you have planned to purchase gifts for.


Related Posts Plugin for WordPress, Blogger...