Showing posts with label Tip. Show all posts

Recipe - Taco Soup

Posted By:  Stephanie


I love Taco Soup, or is it Chili?  I'm not really even sure what to call it, or what the definition on chili really is so lets just go with, I love this recipe!

1 large onion, chopped
1 can Pinto Beans
1 can Chili Beans
1 can Whole Kernel Corn
1 can Diced Tomatoes - any flavor, I prefer Italian Seasoned
1 can Mexican Style Tomatoes - I used Tex Mex Style Tomatoes
1 package Taco Seasoning
1 package Ranch Dressing Mix
1 lb meat of your choice - I threw in 3 frozen boneless skinless chicken breasts

Put in the crock pot (do not drain cans) for about 7-8 hours on low heat.  If you use chicken breasts like I did, pull them out when the food is cooked and put them in a bowl.  Using forks shred the chicken which will be very easy to do.  Put it back into the crock pot and mix the meat in.

When serving this it is really good with cheese, sour cream and tortilla chips!  YUMMY!

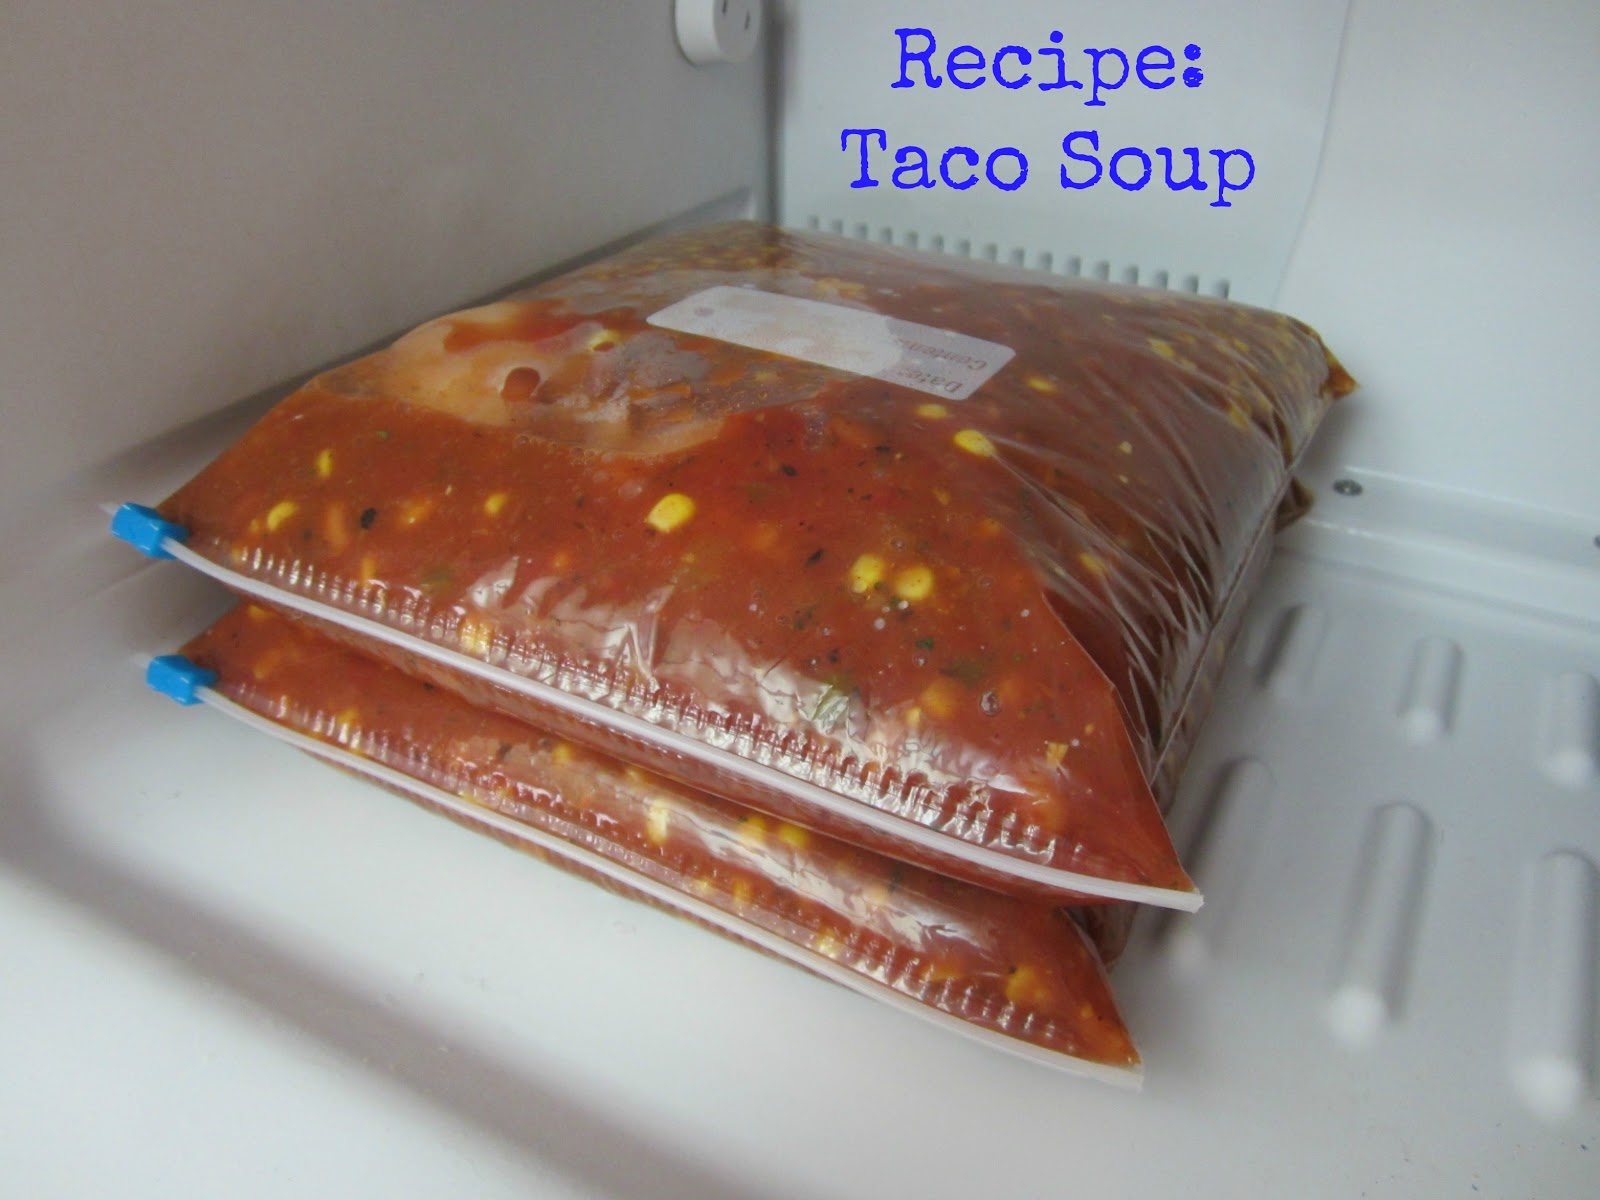
Although this recipe is extremely quick and easy I like to make it even easier by putting all the ingredients in a large zip lock bag and freezing it.  That way I can put the bag in the refrigerator the day before so that I'm able to break it up in the morning and get it into the crock pot and not have to mess with the cans, chopping and all that good stuff.  Most likely it will still be mostly frozen if you took it out of the freezer the evening before.  Just a little tip so that you don't end up with a big mess, use a pitcher to put the bag in before adding your ingredients, that way you wont have a spill accident which is easy to do with all the liquids.


Cake Mix and Pudding Cookies

Posted By:  Stephanie


These cookies are so good and soft!  I know some people love a crunchy cookie but I am all for a nice and soft one.  I've never had a recipe that gave me that perfect fluffy cookie until now.  A friend made these, told me how to make them and I couldn't wait to try it out myself.


All you have to do is follow the instructions on any cake mix, minus one egg that it calls for and add one pudding.  It's that easy!  Oh and of course they wouldn't be the same without being topped with frosting!  The only trick to making these fluffy and not into flat pancakes (I did that once) is to make sure that your eggs are at room temperature.  The pudding should already be at room temperature because it is not the pudding that comes in the refrigeration section at the store, you will find it near the cake mix in the warm aisle.  I'm sure there is a better term for that but I'm not sure what it is.  = )  

Now that the weekend is here you should run to the store and give it a try.  As with any baking adventure in our house Little Lou got involved and loved it.  She likes when we use the hand mixer and before we turn it on she gets excited and yells, "I want to make noise!"  I sure do love that girl!


Have you made cookies from cake mix?  If your recipe is different please share.


Favorite Non-Toxic Cleaners and Quick Cleaning Tips

Posted By:  Stephanie

I've always liked the thought of cleaning with non-toxic cleaners but didn't act on it until I was pregnant with Little Lou.  At that time I decided it was time to find some great non-toxic cleaners so that I was able to keep our family safe from harmful toxins that are found in many cleaners out there while still getting our house fresh and clean.  I was not paid or perked to write about these cleaning products, I just wanted to share my findings with you.


I love the Mr Clean Magic Erasers for the tough stuff that just wont scrub off with anything else.  Seriously, these are magic.  Kristi posted how she was able to get 30 "Magic Erasers" for $8.49 on Amazon.  Now that is a great deal!


Of course I still have my love for vinegar which I posted about here.  I go through this stuff like it's going out of style.  I haven't been one to contribute to the shortage of bacon, but if there was a shortage going on with vinegar I would be guilty.  = )


Next up are my favorite cleaners that I use on everything from bathrooms, including toilets to mirrors, counters, kitchen sink, microwave (although there is a super awesome tip that Kristi posted on and easy way to clean your microwave I still like to use some cleaner in it when I'm finished) and even Lou's highchair.  I use the product Biokleen which is non-toxic, cleans great and smells good too!  This All Purpose Cleaner has been great on my glass, I just use a microfiber towel (sorry don't have a picture of those but I get a huge pack of them from Costco and they last forever) and this cleaner and I don't end up with any streaks.  Love it! 


For the toilets and the area around them (walls and floor) I use Bac-Out which is a stain and odor remover.  Even if I don't smell anything I'm sure there's some nasty stuff there that needs a little extra powerful stuff to clean it.  


Next up is what I use on my floors.  This stuff is awesome, it cleans the floor well and leaves it seriously sparkling clean.  I was actually on my hands and knees scrubbing the floor last week with this stuff and that's what made me think I should really share with all of you how great it is and what other cleaning products I love.  This particular cleaner is for stone, tile and laminate floors by Bona.
We only have a couple area rugs in our house, the rest are all either laminate, pergo or hardwood.  This is the hardwood cleaner I use and to be honest, I should really clean my hardwoods more often with this stuff.  How often do you clean your hardwood floors?


Now a few tips on how to keep your house looking somewhat decent and ready for random people showing up at your door, that is without doing the 30-60 second clean up that leaves you sweating like you just ran a marathon when you greet your guests.

1.  Never leave a room empty handed.  If you are leaving a room grab at least one thing that needs to be put away.

2.  If you have kids have them clean up toys as they are finished with them and move onto something else.  If nothing else clean up toys with help of your little one (all of them even though they are just going to come out again) before nap and before bed.  That way you will have two times a day that everything is picked up and you don't have to wake up to a mess.

3.  Always rinse your dish and put it in the dishwasher as you use them to prevent a sink pile up.

4.  In between cleaning the bathrooms water and toothpaste splatters on the counter/sink.  Keep baby wipes (again they are non-toxic and you aren't disinfecting just cleaning up) under the sink to quickly wipe down the counter and sink to keep a nice looking appearance.

5.  Clean up dishes in the kitchen as you cook.  For example, while one thing is cooking wash the pot/pan that you are finished with.

6.  When you wipe down your kitchen counters open the microwave and always wipe it out too even if it doesn't look dirty.  This will prevent you from having to use the tip linked to above.  It doesn't take but an extra couple seconds but it keeps you from more work later.  Seriously, who wants a guest to come over and you end up heating something for them in a nasty microwave while trying to hide it from them, no thank you.

5.  Fold laundry as it comes out of the dryer to prevent piles of laundry.  I have to admit that this is something that I normally do, however since we've had Lelo 6 weeks ago I've kept up on folding towels and burp cloths but the clean clothes are in a heaping pile because I've only actually folded laundry twice since then.  Oh well, I'll get back into the groove.  At  least we have clean laundry right?  * The correct answer to that would be yes, you don't want to make me feel bad, do you? = ) *


What are your favorite non-toxic cleaners?  I would love to know if there's something that works great that I should try!


Little Girl Gift Idea

Posted By:  Stephanie


I love these little feet!  They belong to my sweet 2 year old Little Lou.  She LOVES to have her toes painted and feels so special every time she looks at her feet.  Her friend was having a birthday party who is turning 5 on Tuesday and when thinking about what to get for her we decided to get her a gift certificate for a manicure and pedicure.  It's always fun to get someone a gift that is a little different then they would normally get, and what 5 year old gets manicures and pedicure gift certificates?  I don't know many, that's for sure!  I just I would share this gift idea and also tell you that if you do get a gift certificate for a little one in your life, check with them, a lot of times they have a cheaper price for children under 12.  We were able to purchase a manicure and pedicure for $30!  She is a special girl and we were so happy to celebrate her birthday with her.


What are some gifts that you give kids that might be a little out of the ordinary?  We would love some great gift ideas!


How to Make Liquid Hand Soap

Posted By:  Stephanie

Good morning!  Today I'm going to show you a quick tutorial on how to make liquid hand soap.  Seriously, it is so easy and such a money saver that we should all do this.


Gather all your supplies:

1 gallon distilled water
1 8oz bar of soap
*after trial and error on my husband's part making body wash we found Dove does not work well*
Glycerin
 *usually found near the band aids*
1 TBSP measuring spoon
Cheese grater


Step 1:  Grate the bar of soap and add the soap and 2 TBSP Glycerin to a pot of 1 gallon distilled water.

We (my husband and I) used a 5.5oz bar of soap and found that if we used a bit less water or an 8oz bar of soap it would have worked a little better.  We were still happy with the results so the soap wont go to waste.


Step 2:  Turn the heat to medium/high heat and continue to heat until the soap shavings dissolve.


As it is dissolving stir it up, this process doesn't take long.


This is what it will look like once you're finished dissolving the soap.


Step 3:  Wait about 24 hours for the soap to settle and become less runny.  Get out your handy mixer and mix it...mix it real good. (said in the tune of Push It by Salt and Peppa)


Step 4:  Use a funnel and pour your soap into the gallon container the water came in for storage.


That's it, you're done!

Of course everything turns out better when you have a messy cute assistant helping out.


Now get to it!  

Seriously this is SO easy and will save you tons of money over time.  Like I said though, don't use Dove bar soap for this, it was a runny mess!  I personally prefer the natural soaps for 2 reasons:

1.  The cost savings is even greater
2.  When we did try the dove the smell wasn't pleasant it was all chemical, no thank you.


Amazing Deal!

Posted By: Kristi

I remember years ago when I tried cleaning with the Mr. Clean Magic Eraser for the first time. It was the easiest cleaning I had ever done. In less than five minutes my entire bathtub was sparkly clean. I only wished that I had heard of this Magic Eraser sooner. I have been using this product ever since, paying around $7.00 for a box of two.


Fast forward to this last week. Pinterest taught me something amazing, again. The Magic Eraser is made of melamine foam which is used to insulate pipes, duct work and is a soundproofing material. Who knew? I also learned that melamine foam cleaner sponges (who cares about the Mr. Clean brand name, right?) can be purchased on Ebay. THESE are the ones that were recommended by a few different bloggers found via Pinterest. That's right, a pack of 30 for only $8.49! WOOHOO!


They came in TWO days! Way faster than expected. They work just as good, I am a happy girl! These are definitely something I will be hoarding. = )

If you have a favorite cleaning tool please tell me about it. I love myself a good cleaner!

Toddler Tuesday - Baking

Posted By:  Stephanie

Baking is a great activity to do with your toddler.  Although you can't see from the picture below she was helping me by holding the mixer, she liked how fast it was moving.  Not only is this a fun activity but your child is learning at the same time.


If you have a toddler/child that likes to get involved even more, you can have them help measure what needs to go into what you are baking and dump all the ingredients into the bowl.

We made both cupcakes and a small cake.  She was offered a try of our finished product but didn't want any.  Works for me, I would rather her not eat sweets but there's no way I would have her help me then not offer at least a bite.
= )


(Maybe some day I'll be good at frosting.
This was my first time so I'm going to let me skills slide a bit.
I hope you will too.)


Now for the recipe tip I found on Babblings and More.

When baking a cake or cupcakes from a box substitute mayonnaise for the oil, add a tsp of baking powder and 1-2 tsp of vanilla extract, the more the better!  We made lemon so we used 1 tsp lemon extract and 1 tsp vanilla extract.  Make sure you take it out of the oven when it is still a little spongy.  This makes for some super moist and yummy cupcakes and cakes!

Do you have a trick for making especially good boxed cupcakes/cakes?


Hanging a picture or art, the easy way!

Posted By: Kristi

* Giveaway Reminder *
We are getting closer and we don't want YOU to miss out!

Follow us publicly via Google Friend Connect on the right sidebar and be entered to win a $20 gift card to Amazon!  The winner will be randomly selected at 150 followers.  If you are already a follower you are automatically entered to win.  For instructions on how to follow click here.

Note: If we hit the 150 mark today and you follow us after, we will still include you in the drawing as long as it is TODAY.
_________________________________________________

Time and time again I go to hang something on the wall and I put a hole in the wrong spot. Good thing that what I am usually hanging will hide my mess but I would prefer to get it right. Because of this, I have been researching the best way to hang things correctly the first time. I found some great ideas that I am excited to try, I had to share!

1. Put a dab of toothpaste on the part of the frame that will hang from the nail. Hold the frame up to the wall (where you want it to hang) and push it up against the wall so that the toothpaste leaves a mark. Don't move it around or else you wont know exactly where to hammer your nail into.

 via

2. Use a piece of wood or a clothespin and on one end hammer a nail into it (make sure the nail goes all the way through but that the head of the nail is still raised a bit so that something can hang from it.) Next, hang your picture from it (hold onto the top)


Press the entire thing up against the wall where you want it, the nail will put a little hold in the wall.


 via

The hole will be a placeholder so that you will know where to hammer your nail into.

3. Cut out pieces of paper the size of the frame(s) that you are hanging on the wall. Tape them on the wall where you will want the frames to hang. Measure how far down the hangers are on the frame and mark that spot on the paper. Hammer the nail into that spot and then pull the paper up.


Do you have any other techniques to share? I am open to hearing them all, please share! I am tired of having to always cover up extra holes.

Balled up sweater

Posted By: Kristi

Hi, friends! Today I am going to share with you a trick that I was taught just a couple of hours ago. Seriously, this is hot off the press new to me but I am sure some of you already know about it.

First, I must admit, Steph and I were discussing a title for this post and many of our ideas didn't sound so good. In fact, we even left this post titleless because for a while all we could think of was, "Bally Sweater" or "Sweater with Balls." Hopefully what we ended up choosing is a little more appropriate.

Anyway, time for the sharing part. Without further adieu...
I recently bought a sweater from Nordstrom Rack. I loved the sweater but after only one time of wearing it, it started to ball up a bit.


I was a bit bummed. I mean HELLO, this is a brand new sweater that I had only worn ONE TIME. Yes, it was a good deal but NOT only wear it once kind of deal!

Today, while I was at work I mentioned to one of my besties (yes, I work with one of my best gals. Lucky right?) how frustrating it was. She looked at me and said, "shave it."

WHAT?!

She replied, "take a razor and lightly shave it and the balls will disappear."

Really? East smeasy!

So of course, I just got home and ran (almost literally) to my dressing room and gave it a try.

It worked!

My friends are brilliant!

Next time your sweater is balling up, don't give up on it...give this a try! It is AWESOME!

I LOVE my friends!


Prepare Air Pop Popcorn in the Microwave! *Update - We're Guest Hosting Today!*

Posted By:  Stephanie

Surprise!  I got on today to find that we are the featured blog (Guest Host) at the Mingle With Us Blog Hop today!  Please take a moment to link up and let them know that you found the hop on 4Eighteen.  Thank you Keeping Up With Kristi, Joy in the JumbleI Heart Crafty Things and Happy Go Lucky!


Happy Go Lucky


Prepare Air Pop Popcorn in the Microwave!


This is magic people, pure magic!  Are you a popcorn fan?  If so you know two things, air pop popcorn is the best, and that if you buy the microwave bag popcorn it gets expensive (not to mention the weird ingredients).  This will just change your world completely, if you are a popcorn fan, or even just eat it on occasion you know what I mean.

Now you can pop your air pop popcorn (that's a mouth full) in the microwave!


All you need is:

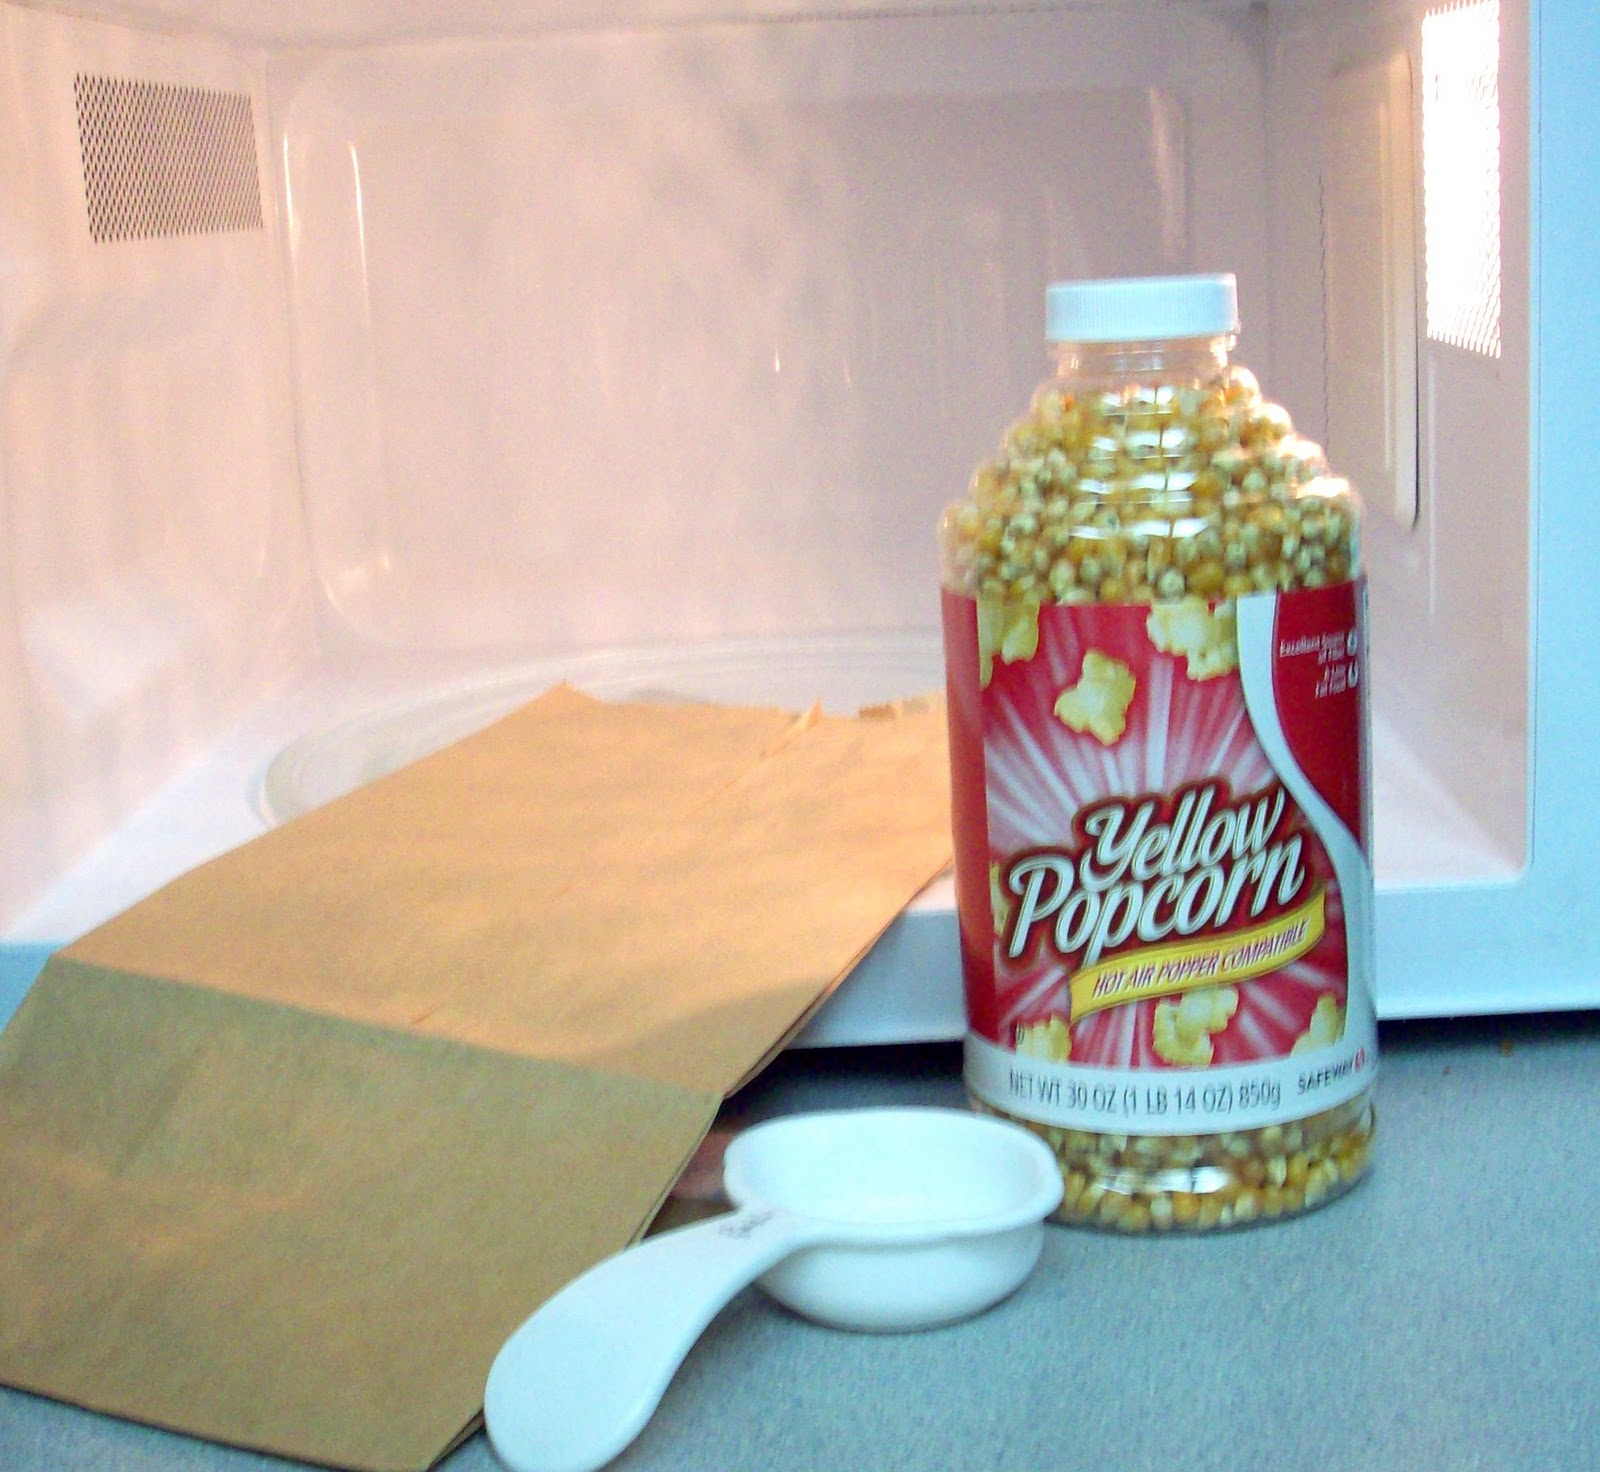
- Brown lunch bag
- 1/4 cup popcorn
- Air pop popcorn
- Microwave


Poor 1/4 cup of popcorn kernels into brown paper bag.


Fold the top down a couple times until it fits into your microwave.  You must fold it down at least twice to keep the heat in.


Turn the microwave on for about 1 min 50 seconds, microwaves vary.  Listen for the pops until there are about 2 seconds between each pop.  Stop the microwave immediately, popcorn will go from perfect to burnt way faster than you can blink!


1/4 cup made about two bowls worth.  This is so much less expensive and tastes SO yummy.  Once you take the popcorn out of the microwave you can season it how you like it.  I told my Granny K. about this, who is a popcorn fan for sure.  She says that she has done this now since I told her about the awesome magic trick and she loves making it this way instead of pulling out her air popper.


Speaking of Granny K...

This is Granny K. and my girl Little Lou reading a magazine together.  I just love this picture.  Please excuse the quality, it was taken with a phone and it wasn't one of those fancy smart ones, Granny K. and I don't have those spiffy phones.  We rock the cell phones old school.  = )


ENJOY!


Related Posts Plugin for WordPress, Blogger...